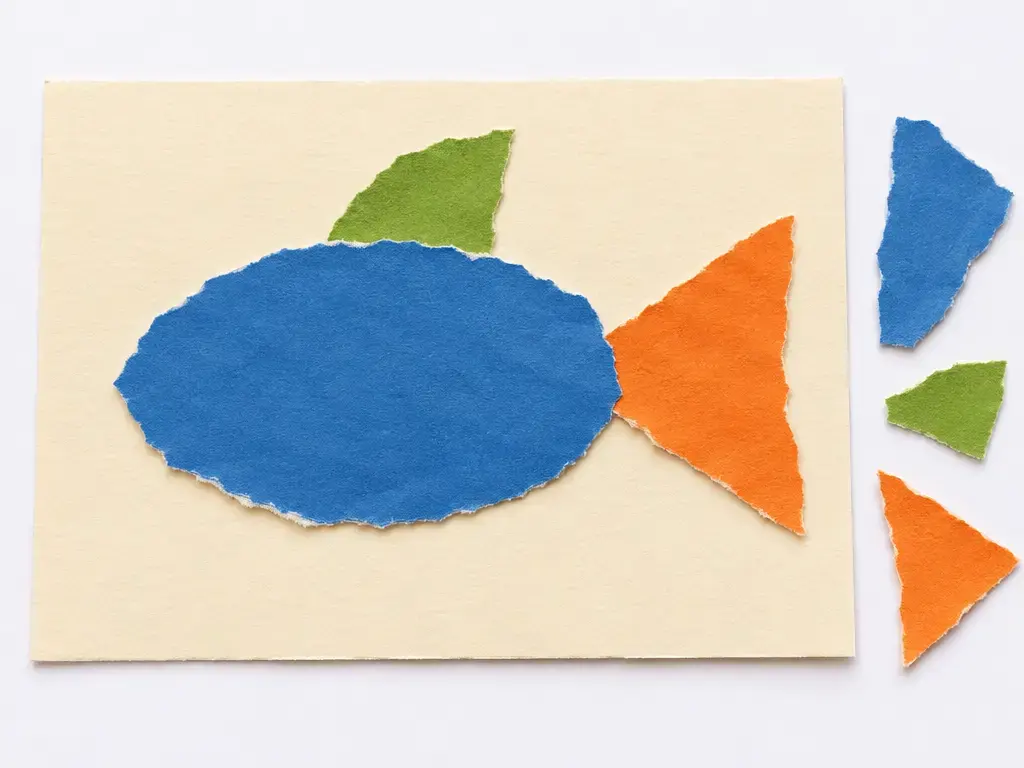
Keep the fish design simple: one body, one tail, and one small fin fit comfortably on a single sheet. Invite your child to picture the body as an oval or rounded shape, then choose where the tail and fin will sit. A straightforward outline makes it easier to build the fish from torn pieces without needing a template.
Set out only a thick backing sheet, clean paper scraps in a few contrasting colors, and a glue stick labeled for your child’s age. The sturdy sheet gives the collage a firm base, while different paper colors help the fish stand out. Check the glue label before the activity and use only a stick marked as suitable for your child’s age.
Tear each piece by pinching the paper close to its edge and pulling gently with your hands. Small, controlled tears make it easier to form the body, tail, and fin without scissors. If a piece comes out unevenly, tear off a little more from the edge or turn it so the irregular side is less noticeable.
Arrange the fish on the backing sheet before using any glue. Put the body down first, then place the tail at one end and the small fin near the body; shift the pieces until their positions look right. Choose contrasting colors for neighboring shapes so their edges are easier to see, and adjust the layout while everything is still loose.
Glue the larger body shape first, then add the tail and fin on top where their edges meet the body. Use the glue stick according to its label, press the paper pieces onto the backing, and keep the finished collage flat while it dries. Follow the label’s drying instructions rather than relying on a set amount of time.
Cap the glue stick when the collage is finished, then sort the leftover clean scraps and store them dry for another project. Put away the backing sheet and scraps, and leave the collage flat until the glue has dried as directed on its label.